
Restorations that seat right.
Crowns, bridges, veneers, and inlays shaped for the shade, contact, and occlusion you asked for — and checked against the prescription before they leave the bench.
A restoration only earns its keep at the moment it seats. That is where accurate margins, honest shade matching, and correct contacts decide whether the appointment is quick or frustrating. We build for that moment.
Work from your scan or impression, tell us the shade and the situation, and we handle the ceramics — flagging anything about clearance, emergence, or occlusion before we fabricate rather than after.
Materials & technology
Monolithic zirconia
Strong, precise full-contour units for posterior and high-load cases.
Layered ceramics
Hand-layered anterior work for depth, translucency, and natural shade.
Lithium disilicate (EMAX)
Aesthetic, well-bonding restorations for veneers and single units.
Veneers
Minimal-prep and conventional veneers matched to the smile line.
Inlays & onlays
Conservative indirect restorations with tight, verified contacts.
Implant crowns
Screw-retained and cemented crowns matched to your implant system.
How we handle your case
- Step 1
Prescription & scan
We confirm shade, material, and situation from your scan or impression, and query anything about clearance or margins up front.
- Step 2
Design & craft
Margins, contacts, and occlusion are designed and built on one bench, checked against your notes at each stage.
- Step 3
Quality check & dispatch
Every unit is verified against the prescription and shade before it ships, traceable end to end.
From this bench.
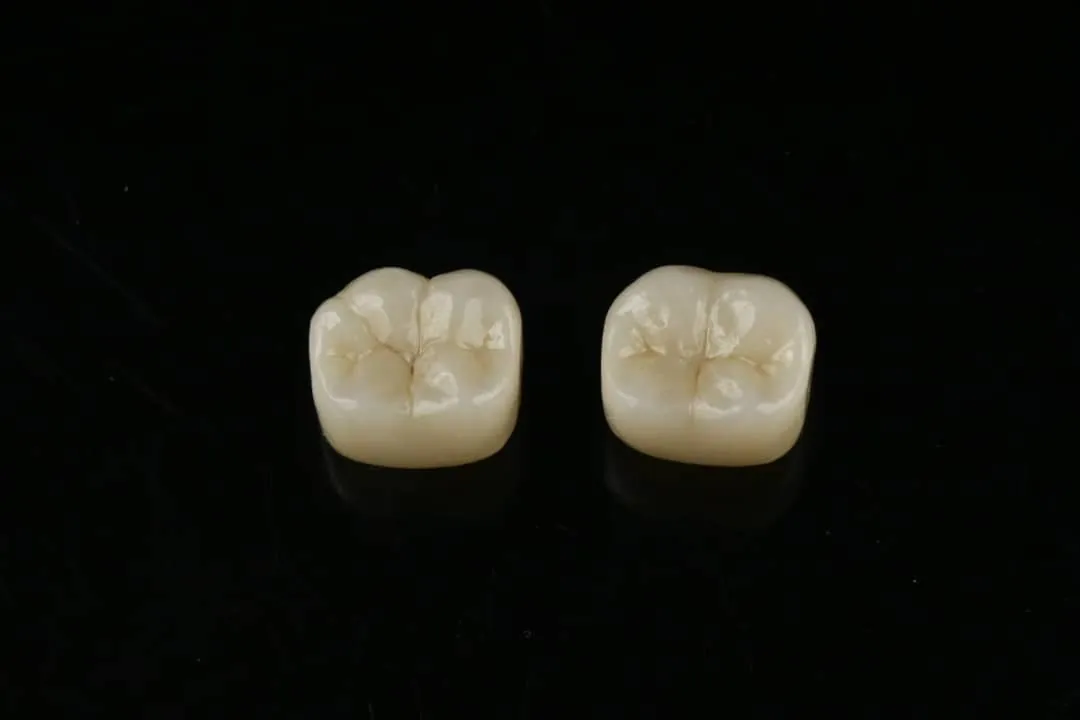
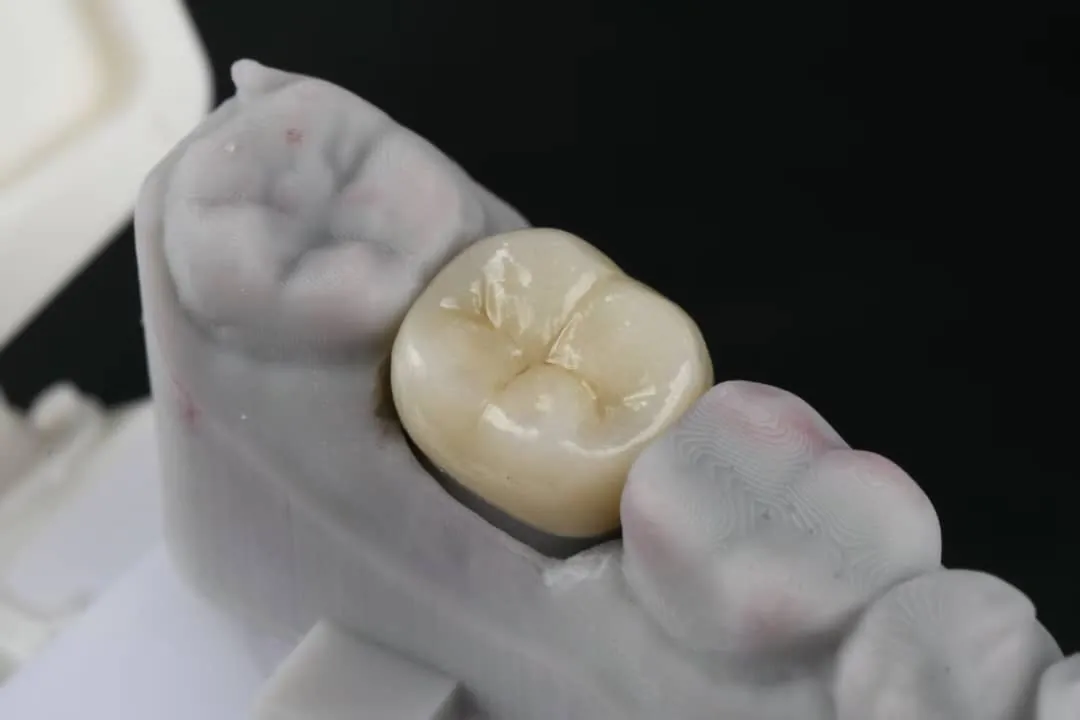
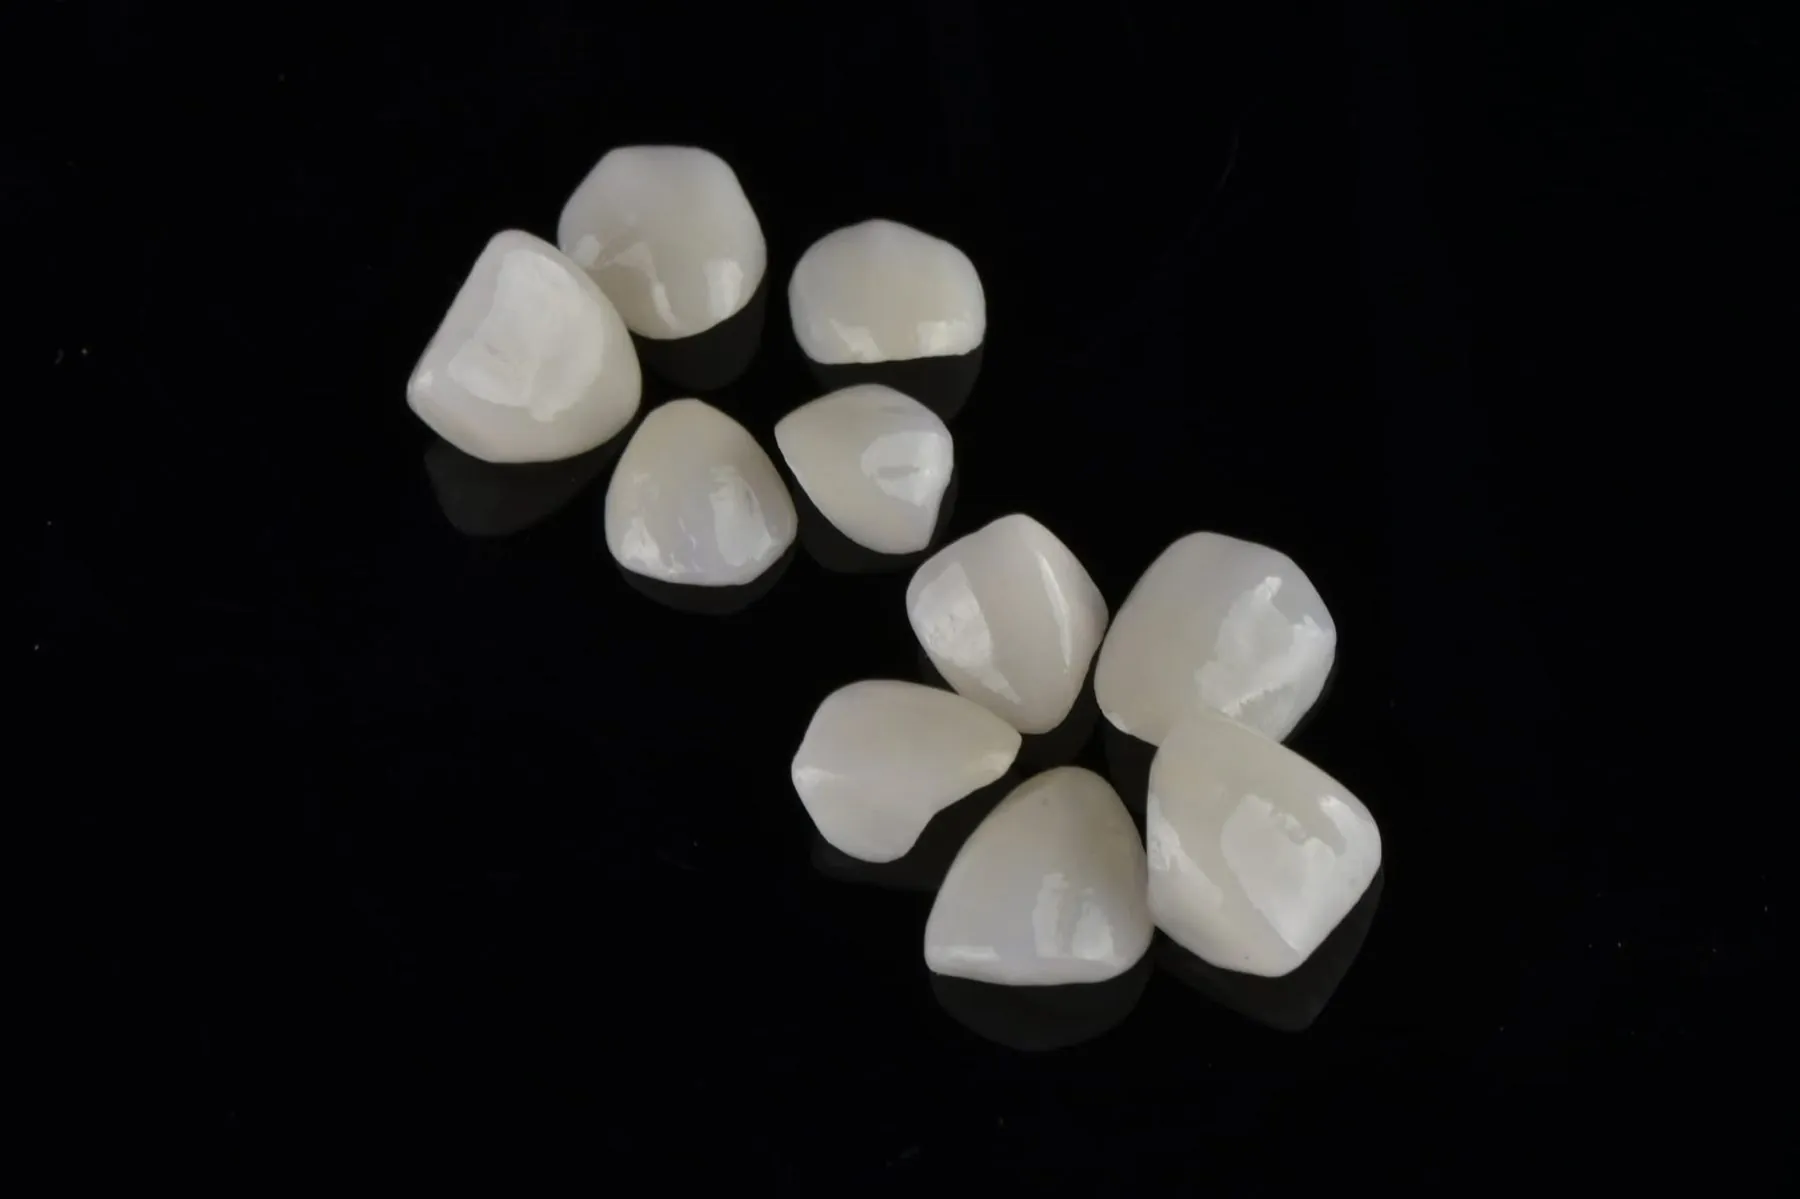
Finished work and the process behind it.
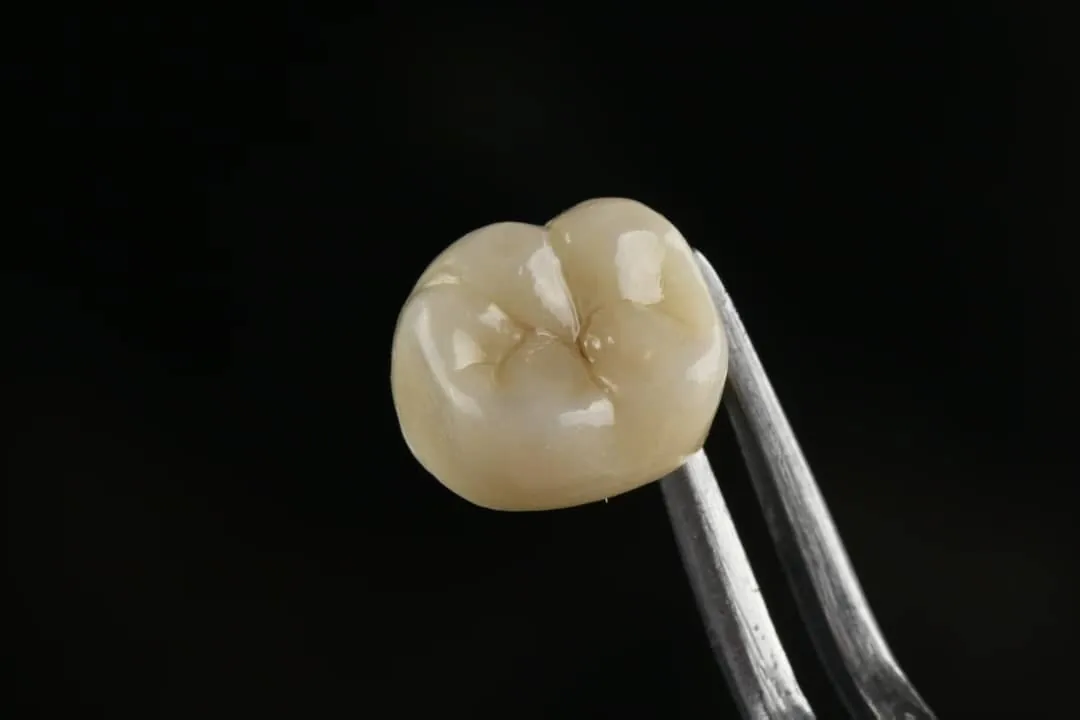
A finished molar crown held in tweezers against a black background
Image 1 of 6. A finished molar crown held in tweezers against a black background
Recent cases
Drag to compare each crown & bridge case before and after.
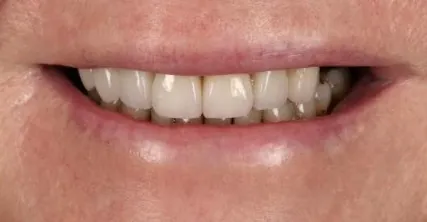 After
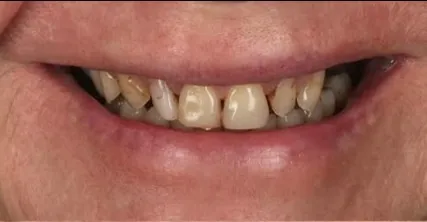 Before
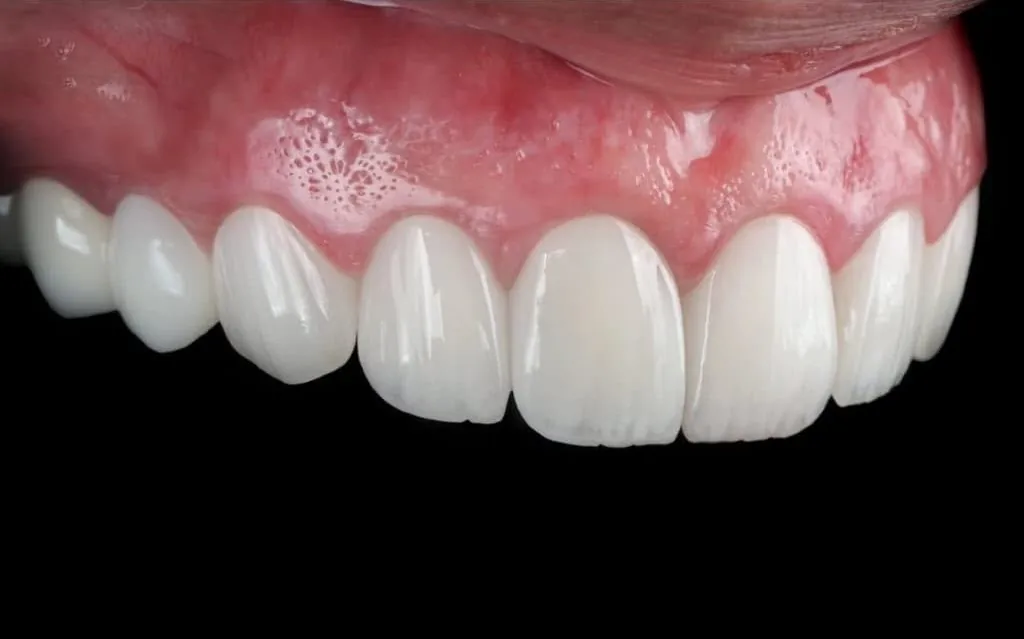 After
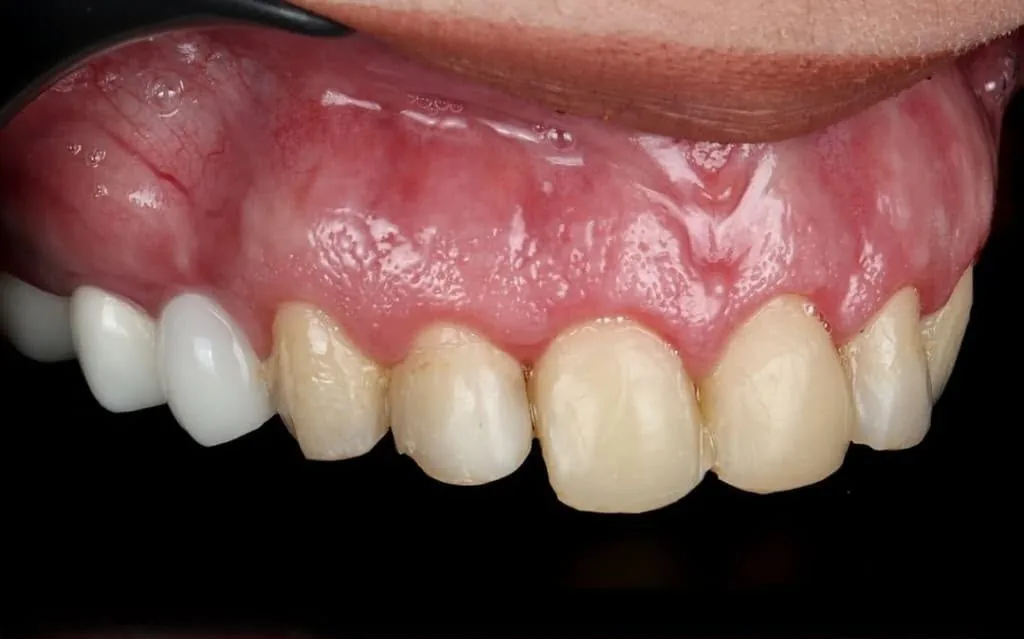 Before
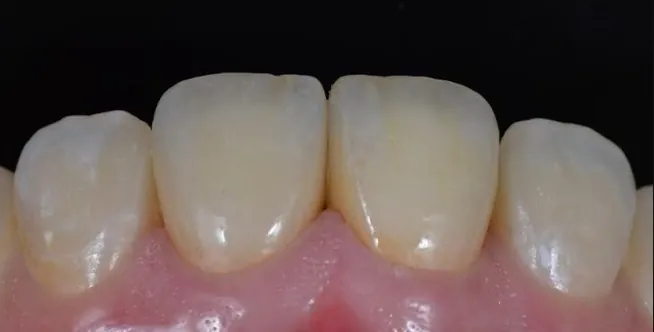 After
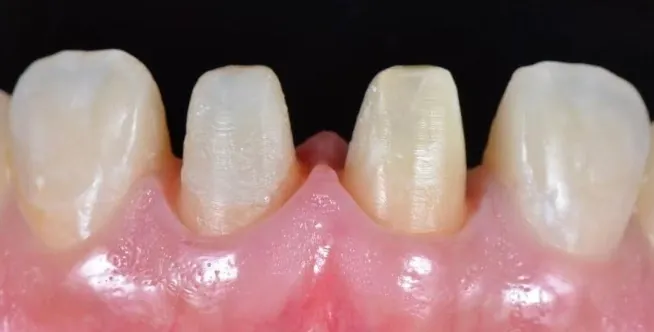 Before
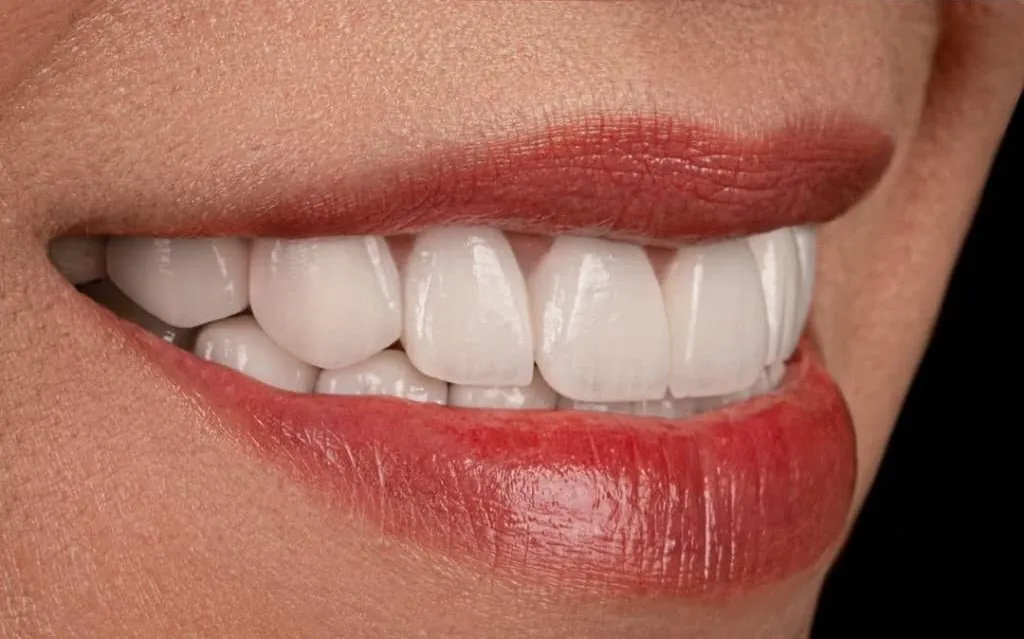 After
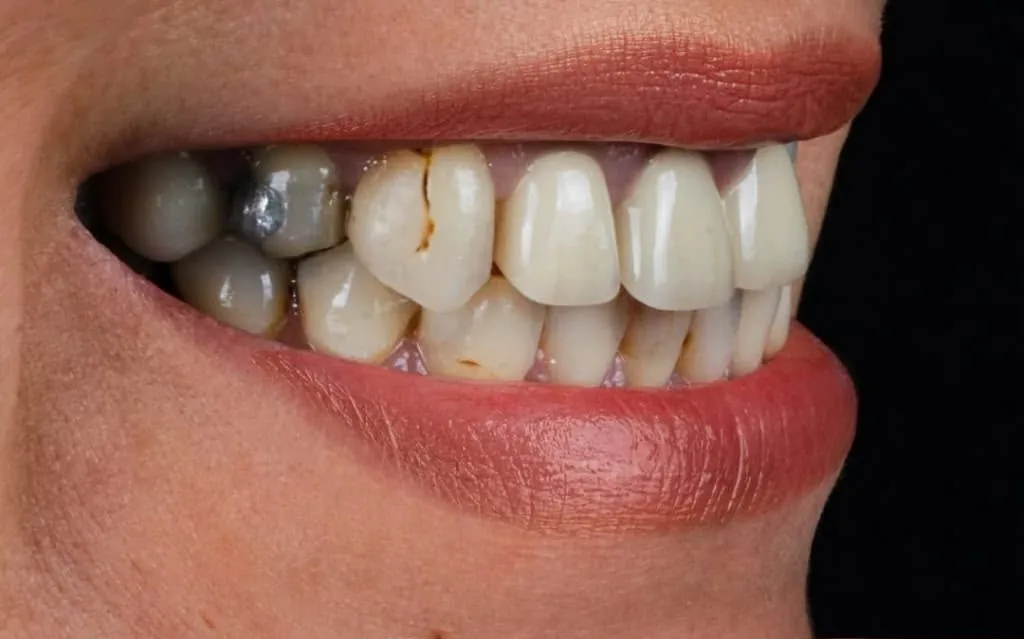 Before
From our bench.
Start with a single case.
Send us one case to see how we work, or ask about pricing and turnaround for your practice.